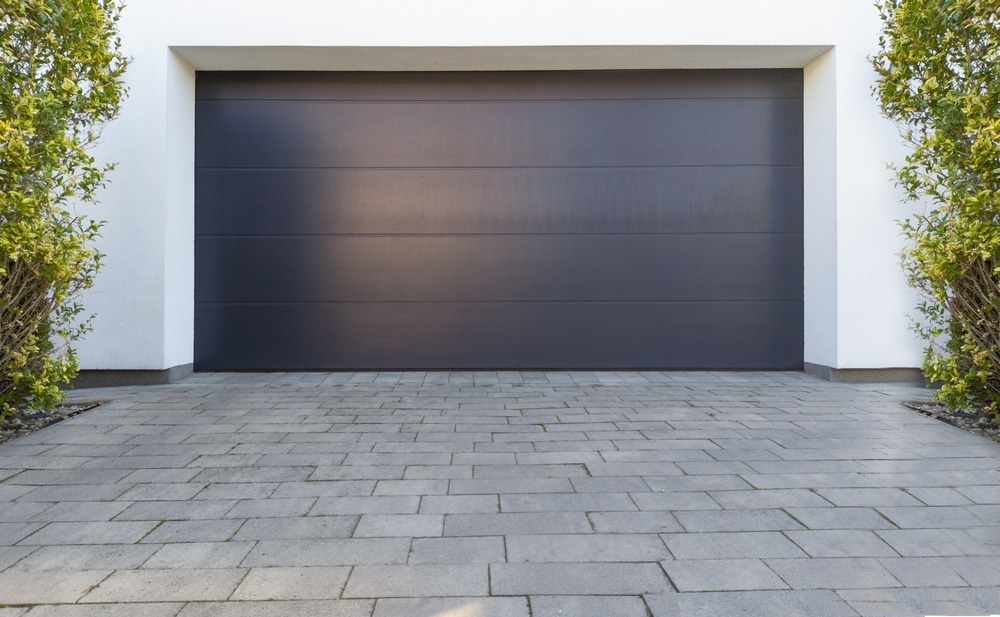
How to install a new garage door: curious which part of a door project poses the biggest risk and whether you should DIY or call a pro?
We’re Garage Home Pros, family-owned since 2014. We install, repair, and service garage doors with fast, friendly care. Our team helps homeowners in Davenport, FL and nearby counties.
This introduction gives a clear view of the installation process. You’ll learn each step from removing the old door through setting panels, aligning tracks, and testing safety sensors. We explain where springs and torsion systems become risky and why safety cables matter.
Expect practical instructions and honest advice so you can weigh DIY against hiring our certified techs. If you prefer a pro, we offer same-day service, transparent pricing, and no after-hours fees within our service area. Call (321) 200-0727 or email garagehomepros@gmail.com during business hours for help or a free estimate.
Key Takeaways
- We walk homeowners through clear, practical instructions and the full process.
- Springs and torsion parts are high risk; handle them with care or hire us.
- Manual doors are lighter; automatic units need motor and sensor setup.
- Our certified techs provide same-day service and transparent pricing.
- We serve Davenport, FL and nearby counties with friendly, fast response.
Before You Begin: Safety, Scope, and DIY vs. Pro Considerations
Pause and evaluate safety priorities, the complexity of the build, and who should handle it. We’ll help you weigh benefits of manual units versus powered systems and point out the high-risk components that may need professional attention.
Manual vs. automatic: Manual units are lighter and simpler. They have fewer electronics, and often offer strong security because they rely on keyed entry. Powered units add daily convenience but require motors, remote controls, and properly aligned safety sensors for reliable operation.
Torsion and extension springs: These springs store dangerous tension. Removing or adjusting them without the correct tools and instructions is risky. Safety cables are required on extension spring setups to contain parts if a spring fails.
- We assess lift weight, ceiling height, and framing so you can decide between DIY and professional service.
- Look for damaged tracks, misaligned framing, or unfamiliar spring hardware — these are signs you may need pro help.
- Follow basic safety steps before work: PPE, a helper, and locking out powered openers.

Tools, Hardware, and Materials You’ll Need for Installing a Garage Door
A smooth project starts with the correct panels, hardware, and safety gear on hand.
Core materials: a full set of garage door panels, hinges, rollers, tracks, brackets, bottom weather-stripping, and the correct lag screws for your jambs.
Essential tools: impact driver or drill, ratchet and sockets, locking pliers, shims, a level, and a sturdy ladder for overhead work.

- Leave track fasteners slightly loose during initial alignment so you can fine-tune travel and spacing.
- Run safety cables through extension springs and use proper fasteners where metal backing is present.
- Prepare gloves and safety glasses and verify panel, hinge, and bracket compatibility with your spring and track radius.
- If specialty tools or heavy parts are a hassle, we’ll bring everything and finish the job in one visit.
For parts, tools, or to schedule service, call (321) 200-0727 or email garagehomepros@gmail.com. We handle install garage door projects across Davenport, FL with fast, reliable support.
How to Install a New Garage Door: Step-by-Step Instructions
Start with a clean, safe opening and measure carefully so panels fit without surprises. Disconnect the opener and remove the old system and hardware. That exposes a square door opening and helps us confirm panel sizes against the opening measurements.
Prep and remove old parts: clear the area, wear PPE, and take off the old panels. Identify the bottom panel by its weather-stripping groove before you attach hardware.

Set the bottom panel and vertical tracks
Attach weather-stripping, bottom brackets, and rollers with the specified lag screws. Center and level the bottom panel in the opening. Then slide the vertical tracks over the rollers and lag them into the jambs, but leave fasteners slightly loose so adjustments are possible.
Stack sections, add horizontal track, and set the top
Stack middle panels, connect hinges, and seat rollers so edges stay flush. Finish the vertical track, then secure the horizontal track and rear hangers to ceiling framing. Make sure the curved transition aligns with the roller path.
- Set top panel and position top roller brackets for smooth travel.
- Keep a small, even space between track and panel edges during alignment.
- Tighten hardware only after the panels move friction-free along the track.
Follow the manufacturer instructions for fasteners and torsion or extension springs. If anything feels unsafe during these steps, pause and call us at (321) 200-0727. We offer quick on-site help across Central Florida.
Springs, Cables, and Counterbalance Systems Explained
Proper routing and tension of lift cables and springs keep panels moving smoothly and safely.
Standard residential torsion springs sit on a shaft above the center of the opening. When the system works, torsion springs unwind and cable drums wind lift cables on the shaft.
Routing and tensioning lift cables, pulleys, and drums
Correct cable wrap direction on drums matters. Wrap the cable so the drum winds when the spring releases. Accurate tensioning keeps the panel balanced through full travel.
Why safety cables matter with extension spring systems
Extension springs mount along horizontal tracks and stretch as the panel lifts. Safety cables must run through each spring. They stop parts from becoming dangerous projectiles if a spring breaks.
- Counterbalance principle: springs offset panel weight so the system moves with minimal effort.
- Proper routing prevents one side from lifting faster than the other and reduces wear on tracks and rollers.
- We replace broken springs and repair cables daily and carry the right parts for your garage door.
If you notice uneven travel, frayed cables, or loud spring noise, stop using the system and call (321) 200-0727 or email garagehomepros@gmail.com for fast, safe service.
Adjustments, Balancing, and Final Safety Checks
A few precise adjustments at the end will keep rollers, springs, and the opener working smoothly. These final steps remove friction, verify balance, and confirm safety systems operate as intended.
Track spacing and alignment: Set track spacing evenly so rollers move without rubbing. Leave a small clearance between track faces and the door edges. Tighten lag screws and brackets only after alignment feels smooth by hand.
Balance test and spring tension
Perform the mid-travel hold test: lift the door by hand to halfway. A balanced door holds; if it rises or falls, make small spring tension tweaks. Adjust torsion springs in small increments and recheck balance.
Opener setup and photo-eye testing
Mount the rail and header bracket, attach the carriage and arm, and plug the unit into a dedicated outlet. Align the photo-eye sensors level and low on both sides. Test auto-reverse by placing an obstacle in the path and confirm the opener stops and reverses.
- Inspect cables, drums, and pulleys for even wrap and tension.
- Cycle the system by hand and with the opener to verify full travel and smooth operation.
- Lubricate rollers, hinges, and springs with a garage-door-safe lubricant.
- If adjustments still cause binding or noise, you may need a professional tune-up; we can diagnose and correct the root cause quickly.
We can finalize alignment, balance springs, and set up your opener and safety sensors in one visit. Book service at (321) 200-0727 or garagehomepros@gmail.com.
Need Help Fast? Local Garage Door Installation and Emergency Repairs
Emergency issues with tracks, springs, or cables need prompt attention from a trusted local team. We respond quickly for broken springs, off-track panels, and cable failures.
Family-owned since 2014: We serve Davenport, FL and nearby counties within a 20-mile radius, including Polk, Osceola, Lake, Orange, and Seminole. Hours are Monday–Saturday, 8:00 a.m.–9:00 p.m.; we close Sundays and charge no after-hours fees.
- Call (321) 200-0727 for fast scheduling and same-day solutions from local pros.
- Our licensed techs handle door installation, opener setup, spring replacement, cable repairs, and off-track fixes in one visit when possible.
- We stock common parts so repairs or installs rarely wait on special orders.
- If your panel is stuck open or won’t close, we offer emergency garage door repairs to restore security quickly.
- Before we leave, we check balance, track alignment, and safety features for smooth, safe operation.
Contact: Call (321) 200-0727 or email garagehomepros@gmail.com. Email photos for a quick quote or to book a convenient time slot.
Conclusion
Close your project by confirming each panel, track, and sensor works together for safe daily use.
You now have clear instructions and the core step checklist that supports a solid garage door outcome. Precise measuring, balanced springs, and accurate track alignment avoid most issues.
Automatic units need proper photo-eye testing and final balance checks. Manual systems are simpler but still require care around torsion springs and heavy parts.
If any task feels risky, pause and call for expert help. We’re family-owned since 2014 and serve Polk, Osceola, Lake, Orange, and Seminole counties Monday–Saturday with no after-hours fees.
Ready for a fast estimate or service? Call Garage Home Pros at (321) 200-0727 or email garagehomepros@gmail.com for friendly, local support on garage door installation and repairs.